DIY Christmas Stocking Panels
Giveaway is closed. Congratulations Kimberly!!
Thanks to everyone for stopping by and participating!!
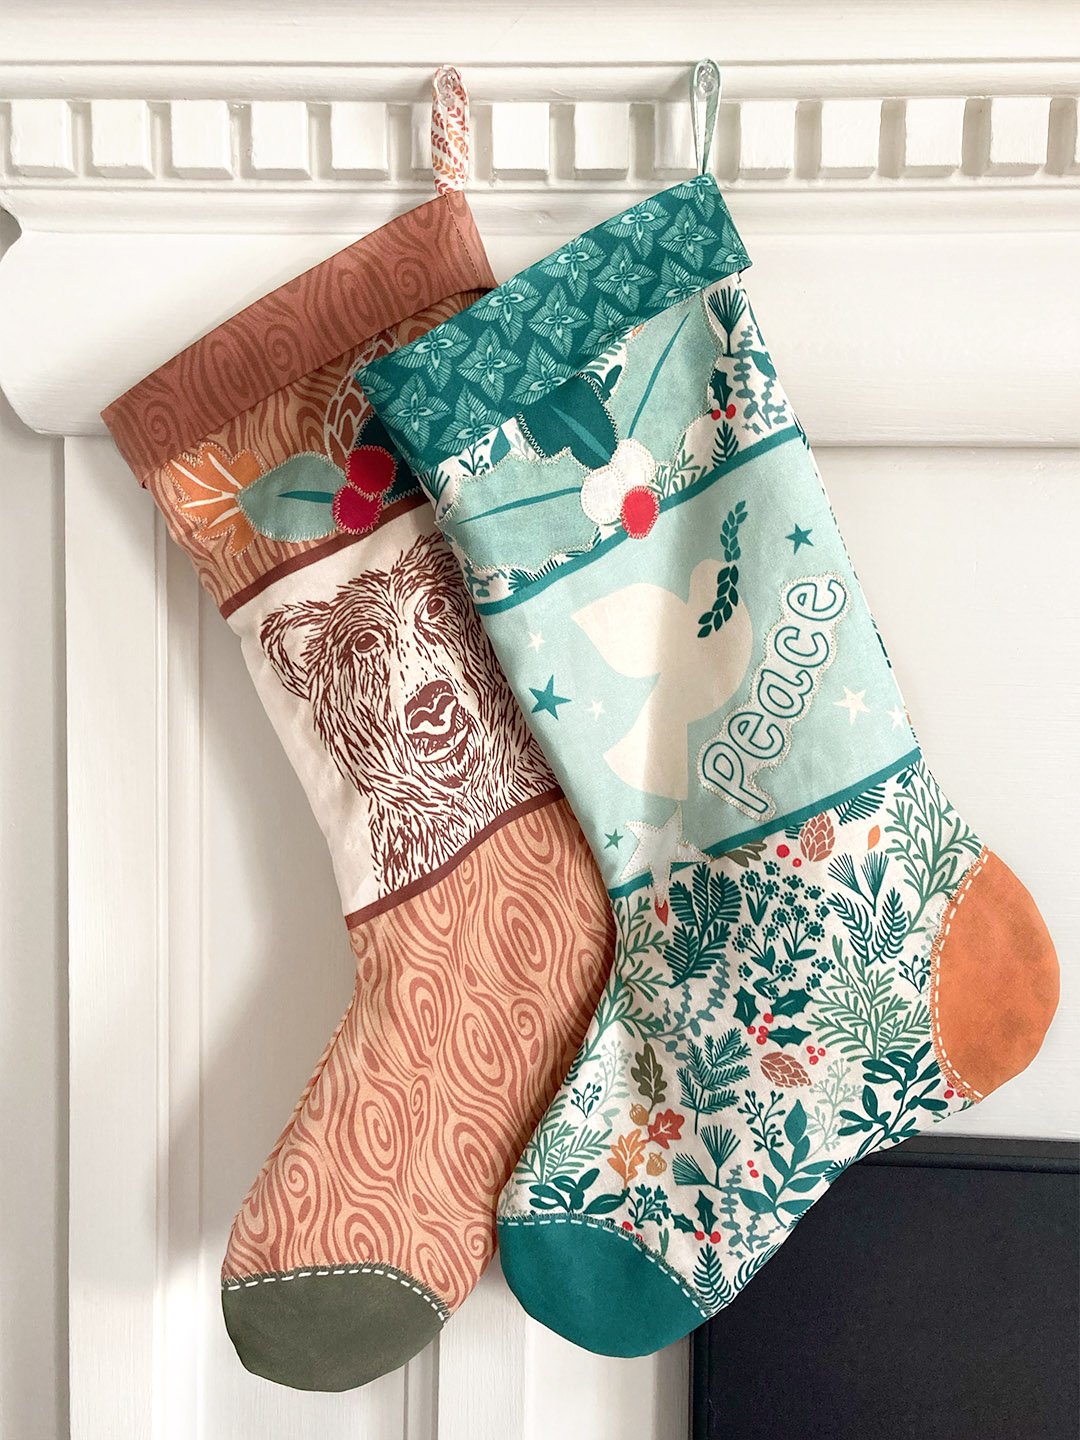
Recently, I thought it’d be fun to design some new Christmas stocking panels as an update to the ones that went along with my Joy and Jingle fabric collections for Moda. Remember those? Did you happen to make them?
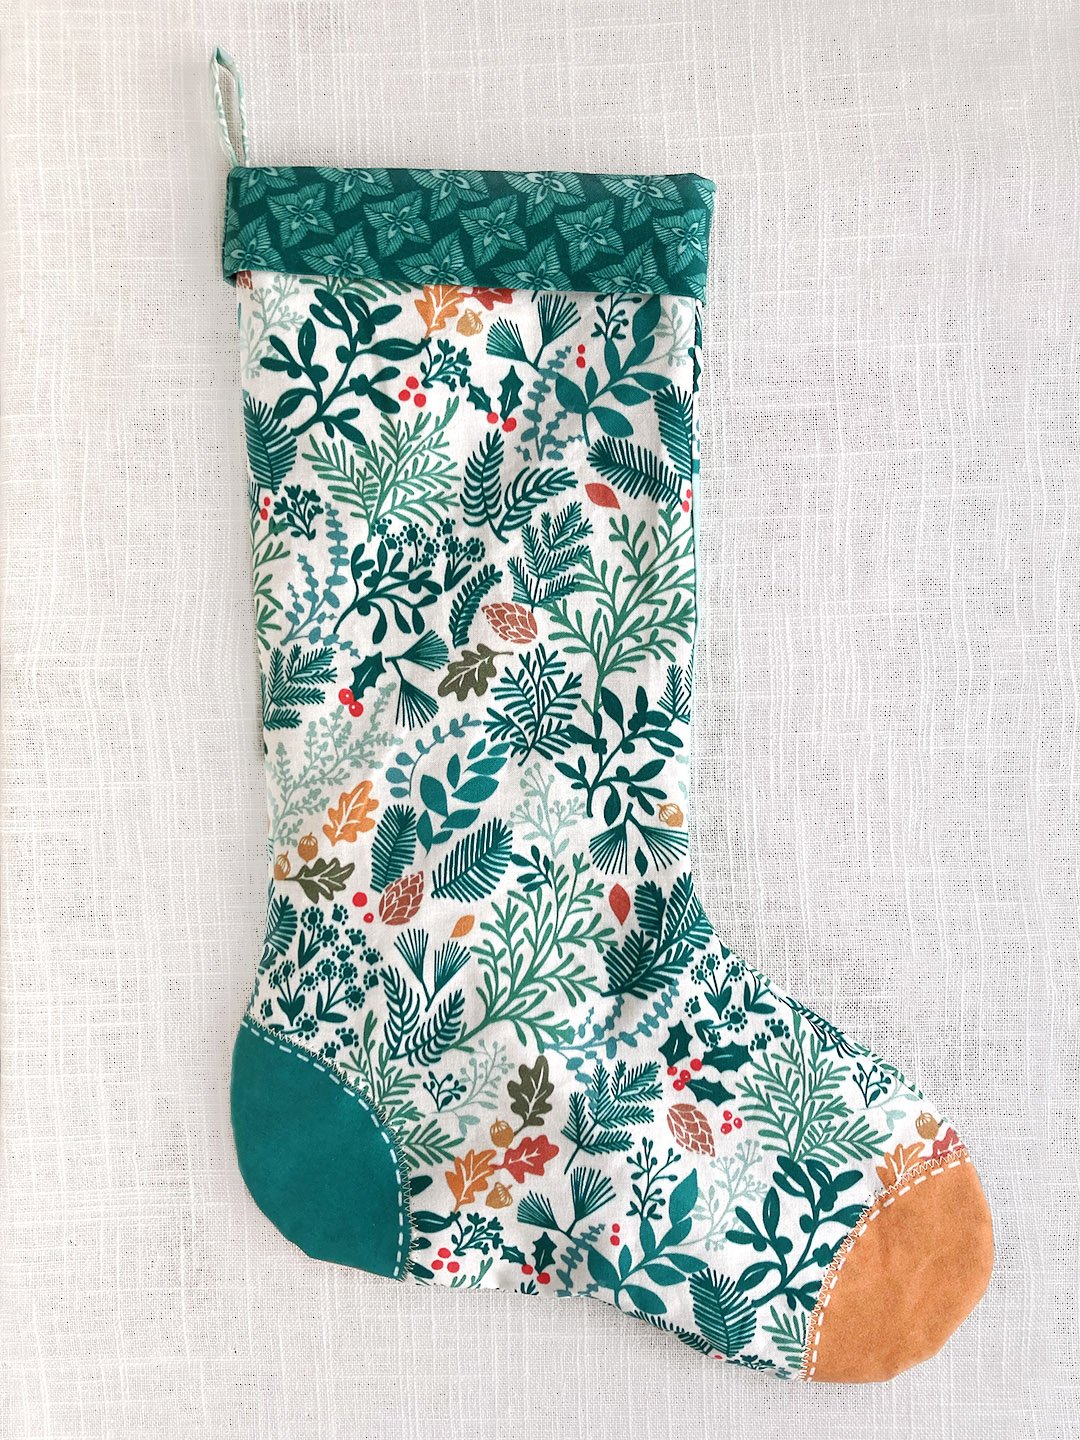
The new panels are available in the DIY collection of my Spoonflower shop. The panels are designed to fit on ONE YARD of Petal Signature Cotton fabric. Be sure to select a yard in the settings before placing your order. Each panel will make two stockings and three fabric gift tags. There are also fun embellishments printed around the border that can be used to appliqué onto the stockings or to decorate gifts or ornaments for your tree! The stocking instructions are printed right on the panel (more about that in a minute) so they’re ready to DIY and add your own special touch.


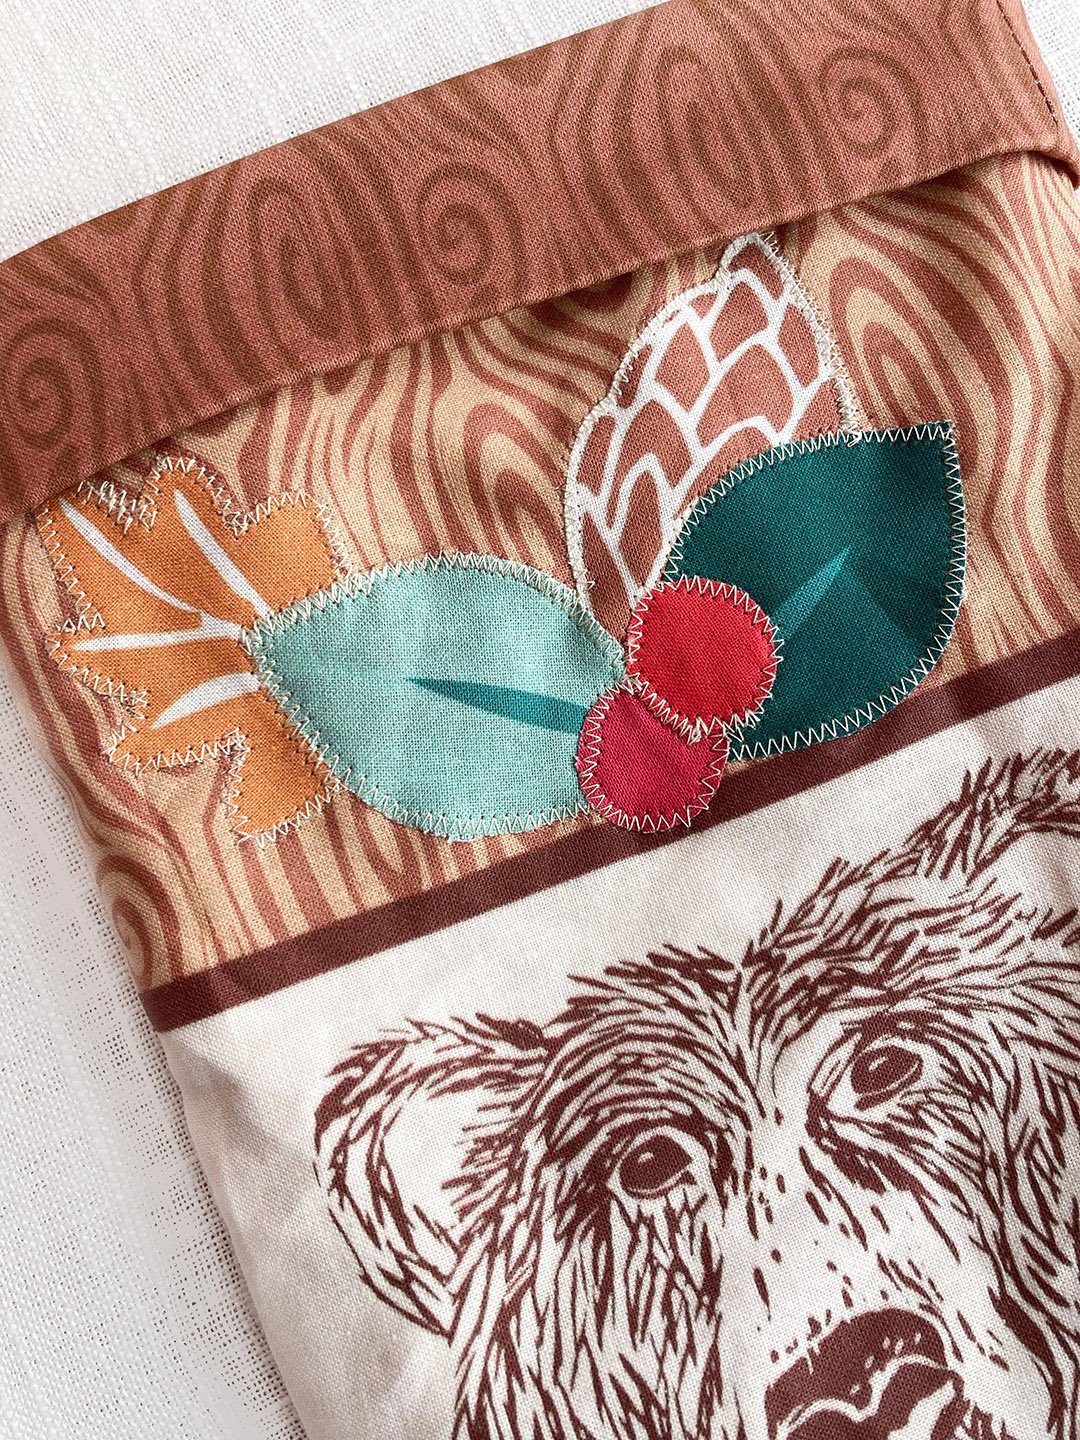
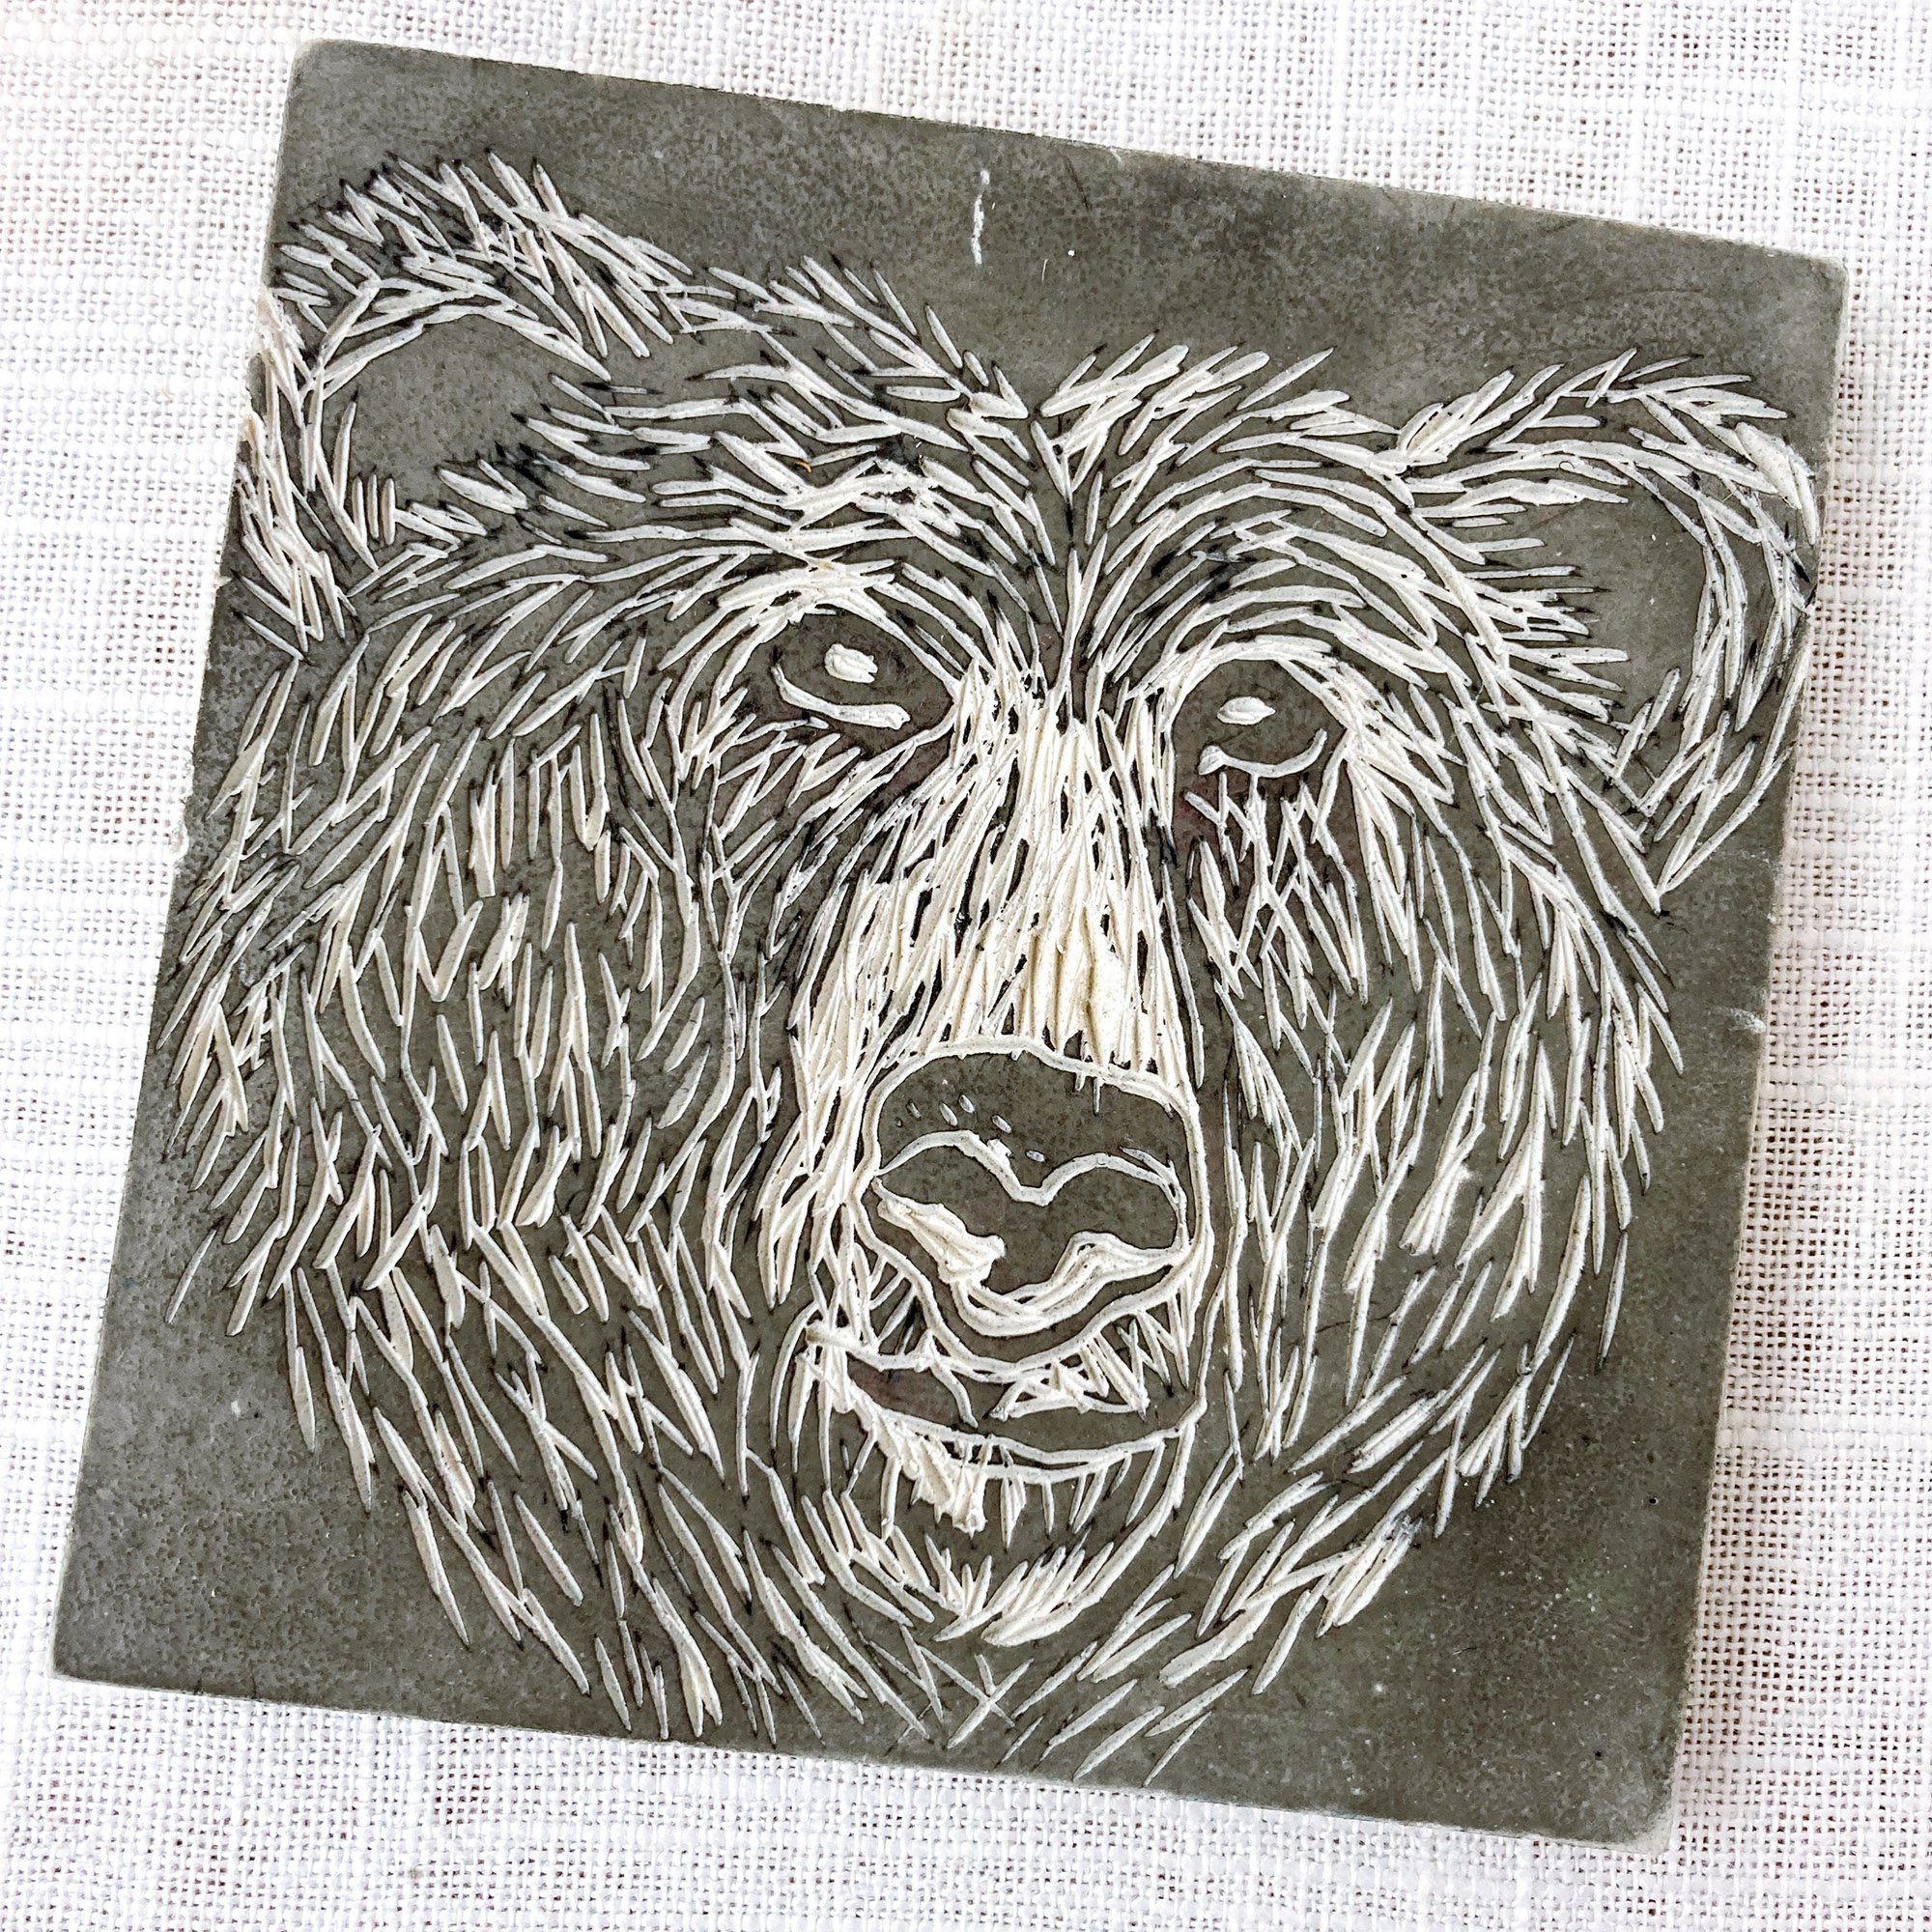
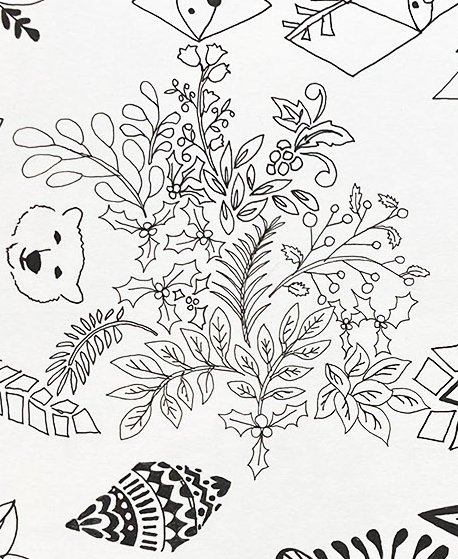
The bear image on this stocking is from a block I carved and printed, shown below (right). I had originally carved it so the fur would print white against a color background - as it was going to be a polar bear! After printing, I digitally reversed the negative/positive color positions and turned it into this sweet woodland bear.
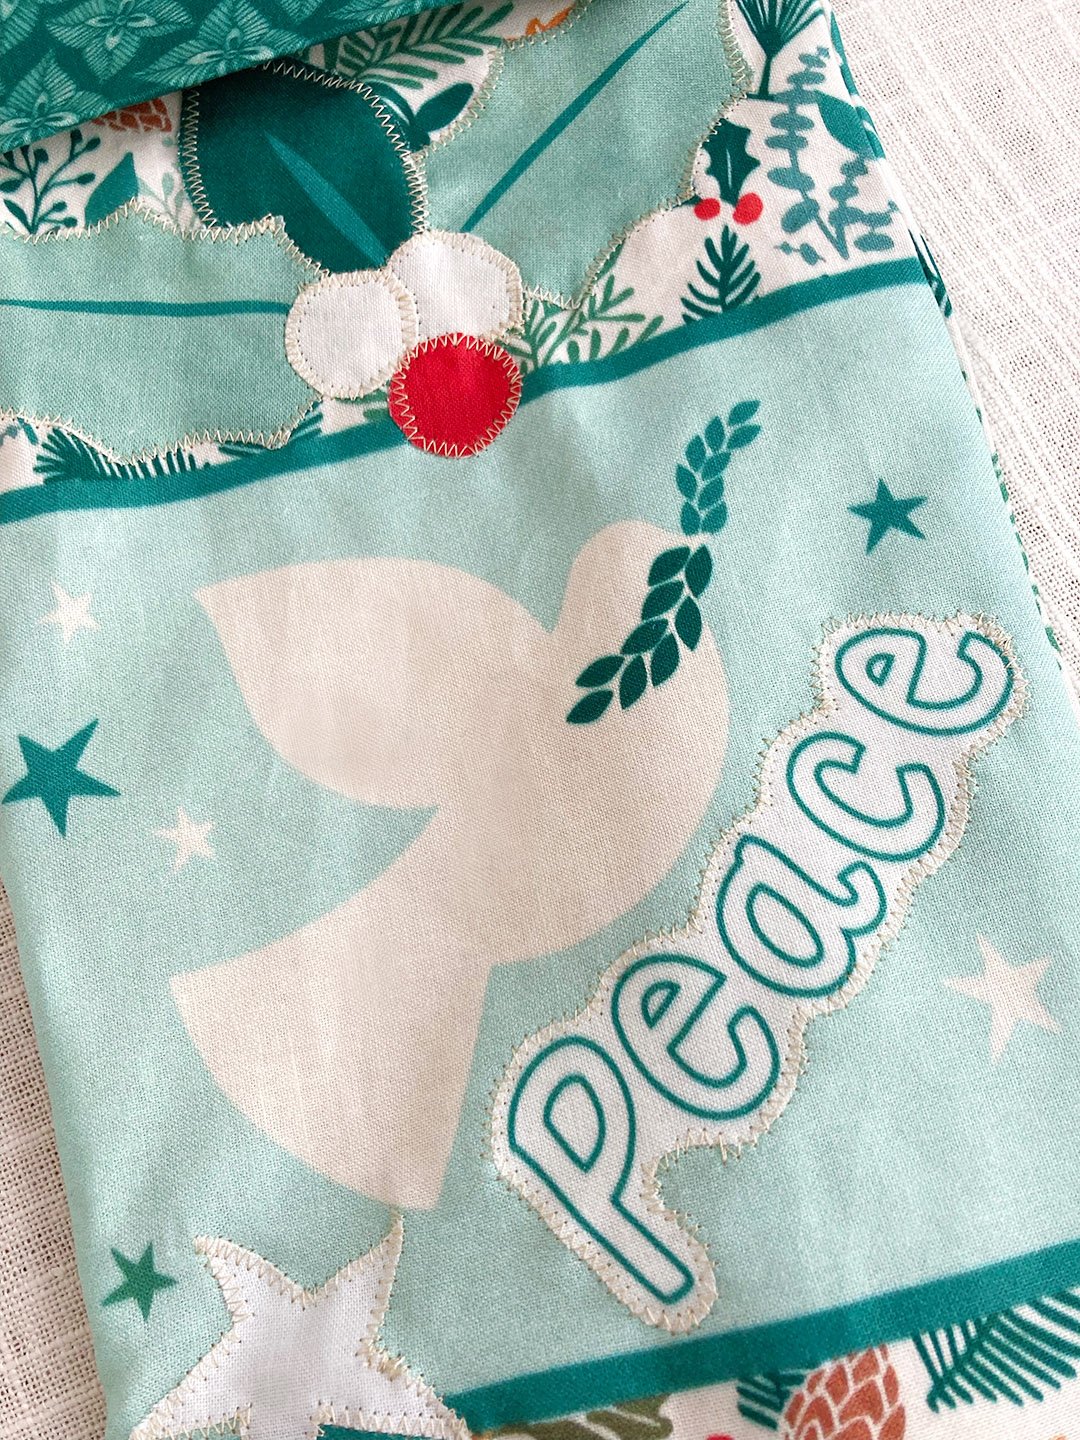
For the embellishments, I arranged the leaves, berries and pine cone on the front top of the stocking (before sewing front/back together) keeping in mind that the top cuff would be turned outward and would cover an inch or so of the top section. After pinning everything in place, I used a small zig-zag stitch to sew the do-dads to the main stocking.
One of the things I like about Spoonflower is that they require designers to order printed swatches prior to offering anything for sale. Sometimes with digital printing, the colors can look very different on a computer screen as opposed to the printed fabric, so this step takes the guesswork out and enables me to review and revise colors so I know you’ll be as happy with them as I am - or at least I hope you will be ;)
As for those instructions … I had initially kept the steps that were printed on the original panel layout from years ago and followed them when I made these samples. Or I should say tried to follow. Yikes! Even I was like, “what the heck is she telling me to do here!?” (If that was you too, sorry!) Anyway, I revised the instructions and they should be much, much easier to make sense of. As a positive, it made me happy to know I’ve learned a few things over the years.


If you’ve ordered anything from our shop recently, your item may have arrived gift wrapped…by me! I love making customers feel special all year long and will often stick surprises in packages just for fun. After getting inquiries about my Juniper wrapping paper (above left, second print from right), I decided to see what it looked like on fabric and included it in this stocking design. I loved it so much it’s also available as yardage in my Spoonflower shop!
The design originated in my sketchbook (middle image below) where all my designs begin. Sometimes I start with a pencil so I’ve got flexibility and can erase lines … other times I use an ink pen and just go for it! Once the line art is more or less “done” I’ll scan these images into my computer add colors, play with their arrangement and ultimately make repeat patterns the can be printed on continuous yards of fabric. And speaking of fabric …
… Spoonflower offers many different fabric substrates and depending on the texture and finish of the fabric surface, the ink may be absorbed very differently which can make the colors look more vibrant or slightly more matte. Because of this, for any fabric type other than Petal Signature Cotton or Organic Cotton Sateen, I often suggest getting a test swatch if you’re planning on ordering more than a yard, just to be sure it suits whatever project you have in mind. The Organic Cotton Sateen is the closest to regular quilting cotton. As with all fabric, when combining different types especially by different manufacturers, it’s always a good idea to wash before using so they can shrink accordingly and there won’t be any surprises in the end! If you make these stockings, please send me a photo or tag me somewhere on the socials! Happy sewing! XO, Kate